KubeJSを実際に使ってみる
Hello Worldする
Section titled “Hello Worldする”初回起動時、各フォルダが生成されるので一旦起動しておく
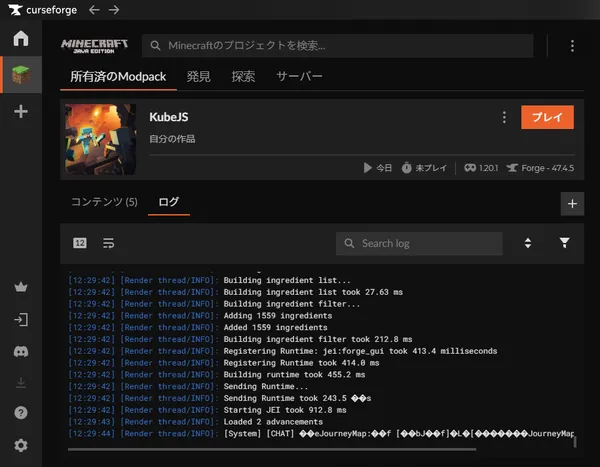
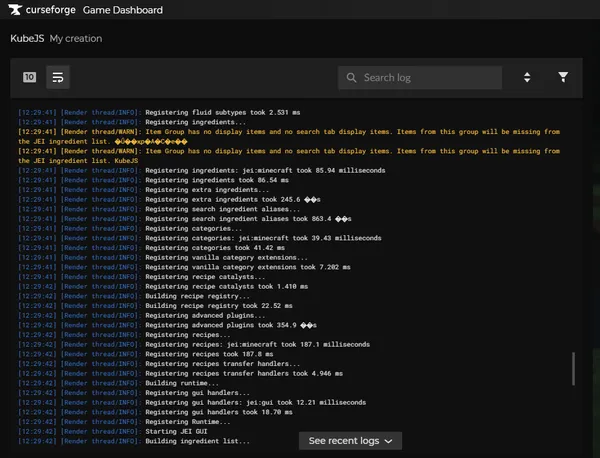
また、起動するとGameDashboardが出現する
要はログを確認できる。以降ログの画面を見るときはこれを用いることになる
先ずはファイルについて “curseforge\minecraft\Instances<プロジェクト名>\kubejs\client_scripts\example.js” 初回起動から一切触っていない場合、上記のファイルの中身は
// priority: 0
// Visit the wiki for more info - https://kubejs.com/
console.info('Hello, World! (Loaded client scripts)')
である。
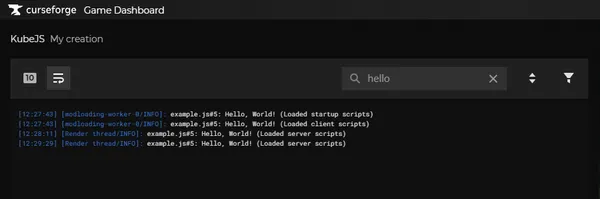
logにHello Worldされる
チャットにHello Worldする
Section titled “チャットにHello Worldする”本来はもっと手軽な方法なのだが、環境次第では動作が怪しいようなので 確実な手法を用いる curseforge\minecraft\Instances<プロジェクト名>\kubejs\kubejs\server_scripts\example.js
<html lang="ja">    <meta charset="UTF-8" /><div style="overflow: hidden!important; height:180px!important; width:100%!important; font-size: pt !important;" ><pre><code>let flag = 0;ServerEvents.tick(event => {    if (flag == 20) { // 20 ticks = 1秒、200 ticks = 10秒        event.server.runCommandSilent('tellraw @a {"text":"Hello, World! tick event!","color":"red"}');    }    flag = flag + 1;});
//本来はこれで問題ないはず//ServerEvents.loaded(event => {//    event.server.runCommandSilent('tellraw @a {"text":"Hello, World!","color":"green"}');//});</code></pre></div></html>